How to Apply Vinyl Decals
Step-by-step instructions for a bubble-free, long-lasting install on any smooth surface.
Before You Start
A great install starts with preparation. Gather these supplies before you begin:
Clean the Surface
Wash the area with soap and water to remove dirt and debris. Then wipe it down with rubbing alcohol to eliminate oils, wax, and residue. Let it dry completely — even a little moisture can prevent proper adhesion. This is the most important step. A dirty surface is the #1 cause of decal failure.
Position the Decal
Hold the decal (still on its backing) against the surface and decide on placement. Use small pieces of masking tape as alignment marks. Step back and check that it's level and centered before committing. For vehicles, stand at a distance to make sure it looks balanced with the body lines.
Hinge Method (Recommended for Large Decals)
For decals wider than 12 inches, use the hinge method: tape the top edge of the decal to the surface. Lift the decal up and peel the backing paper away from underneath. Then slowly lower the decal onto the surface, squeegeeing as you go. This gives you much more control than trying to place a large decal freehand.
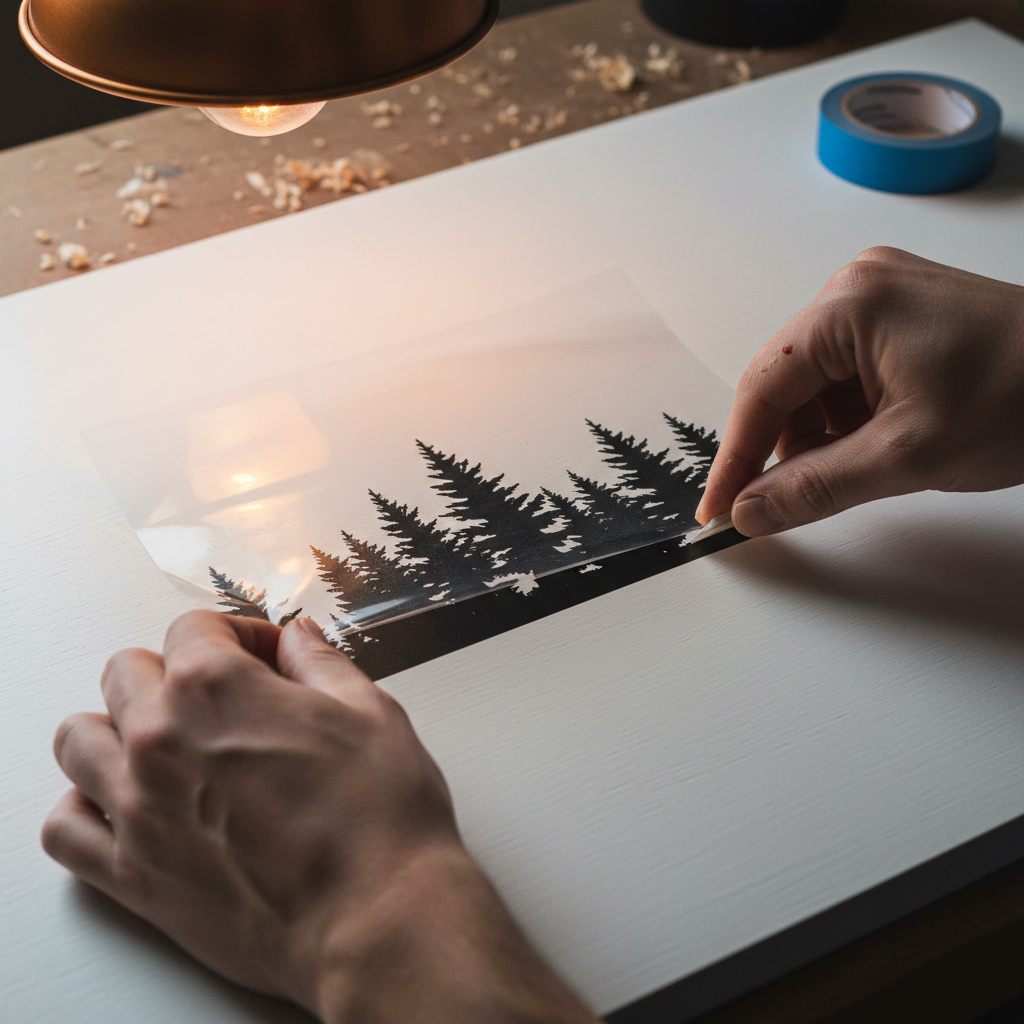
Peel the Backing
Slowly peel the paper backing away from the transfer tape. The vinyl should stick to the transfer tape, not the backing paper. If the vinyl lifts with the backing, press it back down and try peeling at a sharper angle. Go slow — rushing this step can stretch or tear the vinyl.
Apply to the Surface
Press the transfer tape (with the vinyl) onto the surface. Start from one edge and work across, pressing firmly as you go. This prevents air from getting trapped underneath. For curved surfaces, work in smaller sections and use more pressure.
Squeegee Out Bubbles
Using a credit card, squeegee, or even the edge of a phone case, press firmly from the center outward in overlapping strokes. This pushes out air bubbles and ensures full contact between the vinyl and the surface. Don't skip this step — it makes a huge difference in longevity.
Remove the Transfer Tape
Wait 5–10 minutes, then slowly peel the transfer tape away at a sharp angle (close to 180°). Pull slowly and evenly. If the vinyl starts to lift with the tape, press it back down, wait a few more minutes, and try again. In cold weather, you may want to wait longer or use a hair dryer on low heat to warm the adhesive.
Tips for Best Results
Need help with your install? We're here for you.
Contact Us